👋 Click the mic button to talk to Alfred, the Todd's Seeds Gardening/Sprouting Expert – Feel free to ask him anything!
Ask Virtual Todd Anything - Click the Mic
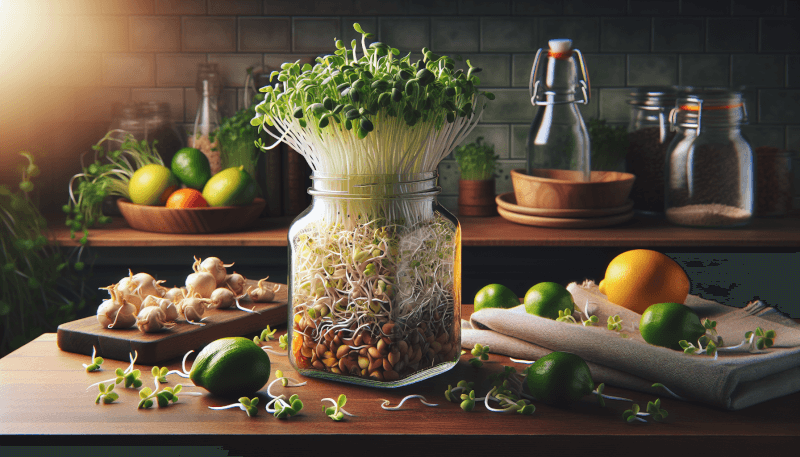
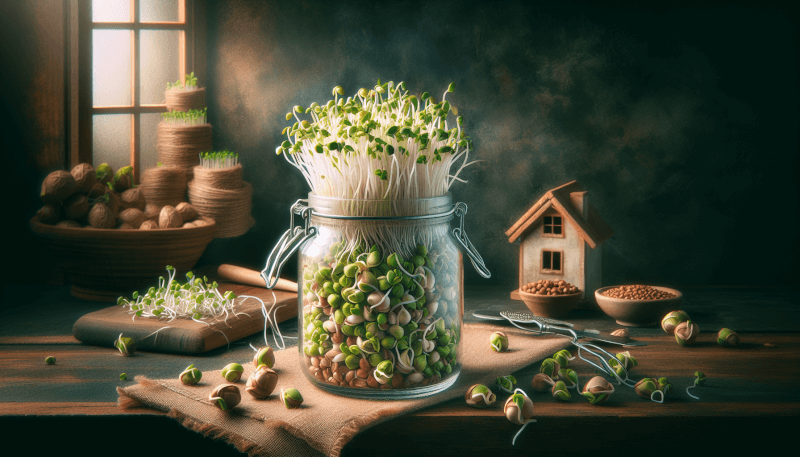
Imagine the satisfaction of growing your own fresh and nutrient-packed sprouts right in your own kitchen. With a sprouting jar, this can become a reality. This article will guide you on how to effectively use a sprouting jar, providing you with all the essentials you need to know to start your own sprouting journey. From choosing the right seeds to mastering the sprouting process, you’ll discover the simple yet rewarding steps that will help you unlock the full potential of your sprouting jar. Get ready to transform your meals with the goodness of homegrown sprouts!

Choosing a Sprouting Jar
Material
When choosing a sprouting jar, it is important to consider the material it is made of. Glass jars are ideal for sprouting because they are non-reactive and do not leach any chemicals into the sprouts. Glass jars also allow you to easily monitor the growth of the sprouts. Avoid using plastic jars as they can retain moisture and promote the growth of mold.
Size
The size of the sprouting jar will depend on the amount of sprouts you intend to grow. If you are just starting out, a smaller jar may be sufficient. However, if you plan on sprouting larger quantities, it is best to choose a larger jar to accommodate the sprouting seeds. It is recommended to leave some room for the sprouts to expand and grow.
Strainer or Lid
Having a sprouting jar with a built-in strainer or a lid that can be used for drainage is essential. This will allow you to easily drain the excess water without losing any of the sprouting seeds. The strainer or lid should have small enough holes to prevent the seeds from falling out while allowing water to flow through.
Preparing the Sprouting Jar
Cleaning the Jar
Before starting the sprouting process, it is crucial to clean the jar thoroughly. Use hot, soapy water to wash the jar, making sure to remove any dirt or residue. Rinse the jar well with clean water to ensure there is no soap residue left behind. This step is important to prevent any contaminants from affecting the sprouting process.
Sterilizing the Jar
To ensure a clean and hygienic sprouting environment, it is recommended to sterilize the jar. You can do this by placing the jar in boiling water for a few minutes or running it through the dishwasher on a high-temperature cycle. Sterilizing the jar will kill any bacteria or pathogens that could potentially hinder the sprouting process.
Soaking the Jar
Before starting the sprouting process, soak the jar in clean water for a few hours. This will help to moisten the jar and create a favorable environment for the sprouting seeds. Make sure the jar is fully submerged in water and allow it to soak for at least 2-4 hours.
Selecting Sprouting Seeds
Types of Seeds
There are various types of seeds that can be used for sprouting, including alfalfa, broccoli, lentils, mung beans, and radish, among others. Each seed type offers unique flavors and nutritional benefits. Experiment with different seeds to discover your preferences and create a diverse sprout selection.
Quality of Seeds
Choosing high-quality seeds is essential for successful sprouting. Look for seeds that are specifically labeled for sprouting, as they are typically free from any chemicals or additives. It is also important to ensure that the seeds are fresh and have not exceeded their expiration date.
Seed Soaking Times
Different seeds have different soaking times. Some seeds require longer soaking periods, while others are best soaked for shorter durations. Follow the instructions provided with the specific seed you are using to determine the appropriate soaking time. Over-soaking or under-soaking the seeds can affect their sprouting potential.

Soaking the Seeds
Seed Measurement
To determine the amount of seeds to soak, consider the size of the sprouting jar and the desired quantity of sprouts. As a general rule, use about 1-2 tablespoons of seeds for a small jar and adjust the quantity accordingly for larger jars. Avoid overcrowding the jar as this can inhibit proper sprouting.
Rinsing the Seeds
Before soaking the seeds, rinse them thoroughly under cool running water. This step helps to remove any dust, debris, or residual substances from the seeds. Gently swish the seeds in a strainer or colander to ensure thorough rinsing. Rinse the seeds until the water runs clear.
Soaking Duration
Once the seeds are rinsed, transfer them to the sprouting jar. Add enough water to cover the seeds completely. Allow the seeds to soak for the recommended duration, usually anywhere from 4-12 hours depending on the type of seed. Soaking allows the seeds to absorb water and initiate the sprouting process.
Draining and Rinsing
Proper Draining Technique
After the soaking period is complete, it is crucial to drain the water from the sprouting jar properly. Tilt the jar at an angle and gently tap it against the sink or countertop to encourage drainage. Avoid shaking or jarring the jar as this can damage the sprouting seeds or cause them to clump together.
Frequency of Rinsing
To promote healthy sprout growth, it is important to rinse the seeds regularly. Twice daily rinsing is recommended, preferably in the morning and evening. Rinse the seeds by adding water to the jar, swishing them around gently, and then draining the water. This helps to keep the seeds hydrated and prevent any bacterial growth.
Water Temperature
When rinsing the seeds, it is best to use water at room temperature or slightly warm. Avoid using hot water as it can damage the sprouting seeds. Cold water can also slow down the sprouting process. Finding the right water temperature helps to create optimal conditions for sprout growth.
Growing Sprouts
Placing the Jar
After rinsing, place the sprouting jar in a location that provides indirect sunlight. The sprouts need some exposure to light, but direct sunlight can be too harsh and cause the sprouts to dry out. A well-lit kitchen counter or a windowsill with filtered sunlight is an ideal spot for the sprouting jar.
Sprouting Timeframe
The sprouting timeframe will vary depending on the type of seed and desired sprout length. Generally, sprouts can be ready to harvest within 4-7 days. Monitor the progress of the sprouts daily and adjust the sprout time based on your preferred maturity level. The longer the sprouts grow, the stronger the flavor will become.
Maintaining Ideal Conditions
To ensure optimal sprout growth, it is important to maintain the right conditions. Avoid exposing the sprouting jar to extreme temperatures or drafts. Keep the sprouts moist by rinsing them regularly, making sure to drain off any excess water. Creating a consistent environment will help produce healthy and vibrant sprouts.
Harvesting Sprouts
Determining Readiness
It is crucial to harvest the sprouts at the right time. Look for fully developed sprouts with well-formed leaves and a vibrant color. Avoid harvesting sprouts that appear weak, discolored, or have an unpleasant odor. Taste a few sprouts to assess their flavor before harvesting the entire batch.
Harvesting Techniques
To harvest the sprouts, gently loosen them from the sides of the jar using clean fingers or a fork. Be careful not to damage the delicate sprouts. Once loosened, transfer the sprouts to a colander or strainer for further rinsing and removal of any residual seed hulls. Shake or gently swirl the sprouts under running water to remove any remaining debris.
Storage Tips
After harvesting, it is important to store the sprouts properly to maintain their freshness and flavor. Place the sprouts in a clean, airtight container or a plastic bag with a few paper towels to absorb any excess moisture. Store the sprouts in the refrigerator, where they can stay fresh for up to a week. Remember to rinse the sprouts before consuming to remove any condensation or debris.
Cleaning and Storage
Cleaning the Jar After Use
After each use, it is essential to thoroughly clean the sprouting jar to prevent any bacterial growth or contamination. Wash the jar with hot, soapy water, making sure to remove any residue or sprout remnants. Rinse the jar well to ensure there is no soap residue left behind. Allow the jar to air dry completely before storing it.
Proper Jar Storage
To maintain the quality of the sprouting jar, store it in a clean and dry location away from any potential contaminants or moisture. Avoid storing the jar near harsh cleaning chemicals or in direct sunlight, as these factors can degrade the jar over time. Storing the jar properly will ensure it remains in good condition for future sprouting endeavors.
Maintaining Hygiene
To maintain hygiene throughout the sprouting process, it is important to practice regular handwashing and maintain clean utensils and surfaces. Keep the sprouting area clean and free from any potential contaminants. By following proper hygiene practices, you can minimize the risk of bacterial growth and ensure the safety of your sprouts.
Common Issues and Troubleshooting
Mold or Mildew
If you notice any mold or mildew growth in your sprouting jar, it is important to discard the entire batch of sprouts. To prevent mold or mildew, make sure the jar is thoroughly cleaned and sterilized before each use. Additionally, ensure proper drainage and ventilation during the sprouting process to minimize excess moisture.
Foul Odor
A foul odor from the sprouting jar can indicate bacterial growth or spoilage. If you detect a strong or unpleasant odor, it is best to discard the sprouts and thoroughly clean the jar. To prevent odor, ensure proper hygiene practices, including regular rinsing and drying of the sprouting jar and equipment.
Sparse Sprouting
If your sprouts are not growing as expected or appear sparse, it could be due to a variety of factors. Ensure you are using fresh and viable seeds, as older seeds may have a lower germination rate. Adjust the rinsing frequency and water temperature to create ideal growing conditions. Experiment with different seed varieties and techniques to find the best approach for successful sprouting.
Benefits of Sprouting
Increased Nutritional Value
Sprouting seeds increases their nutritional value as they are packed with vitamins, minerals, and enzymes. Sprouts are rich in antioxidants, promote digestion, and can boost the immune system. Incorporating sprouts into your diet can provide a nutrient-dense addition to your meals.
Enhanced Digestibility
Sprouting seeds increases their digestibility by breaking down complex carbohydrates and proteins. The sprouting process activates enzymes that aid in digestion, making sprouts easier to digest. This can be particularly beneficial for individuals with digestive issues or sensitivities.
Cost-Effective
Growing your own sprouts using a sprouting jar can be a cost-effective way to incorporate fresh and nutritious food into your diet. Seeds for sprouting are relatively inexpensive, and with a single jar, you can produce a bountiful supply of sprouts. Investing in a sprouting jar can help save money while enjoying the benefits of homegrown sprouts.
In conclusion, choosing the right sprouting jar, properly preparing it, selecting high-quality seeds, and following the appropriate soaking and rinsing techniques are key to successful sprouting. With the right care and attention, you can enjoy the benefits of homegrown sprouts – from their enhanced nutritional value to the cost savings they offer. Happy sprouting!


