👋 Click the mic button to talk to Alfred, the Todd's Seeds Gardening/Sprouting Expert – Feel free to ask him anything!
Ask Virtual Todd Anything - Click the Mic
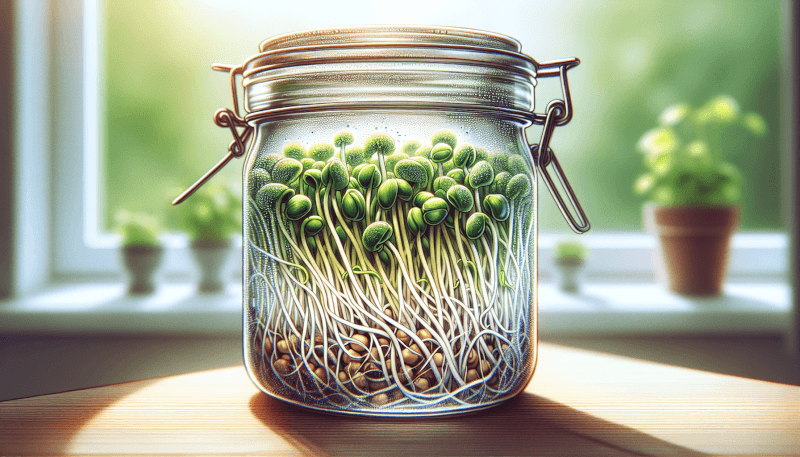
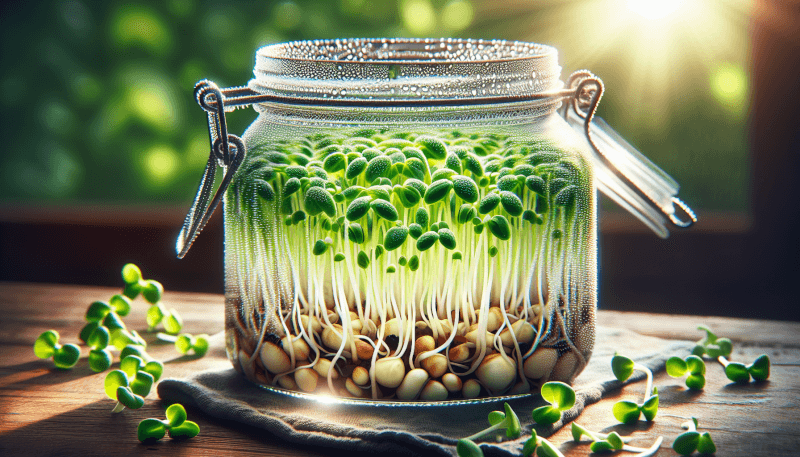
Are you interested in cultivating your own sprouts but don’t want to spend money on expensive store-bought jars? Look no further, because we’ve got you covered! In this article, we will show you a simple and cost-effective way to create your own DIY sprouting jar. With just a few materials and easy-to-follow instructions, you’ll be on your way to enjoying fresh and nutritious sprouts in no time. So, roll up your sleeves and let’s get growing!

How to Make Your Own DIY Sprouting Jar
If you’re interested in adding fresh and nutritious sprouts to your meals, making your own DIY sprouting jar is a fun and easy way to get started. With just a few materials and some basic steps, you’ll be on your way to enjoying the benefits of homegrown sprouts.
Materials needed
Before you begin, gather the materials you’ll need for your DIY sprouting jar. You’ll need:
Glass jar with a lid: Look for a jar that is clean and free of labels or adhesive residue. Ensuring the jar is dry is important to prevent mold growth.
Sprouting lids or cheesecloth: Sprouting lids are specifically designed for sprouting jars and allow for proper airflow. If you don’t have sprouting lids, cheesecloth can be used as an alternative.
Rubber band: A rubber band will help secure the cheesecloth or sprouting lid in place.
Seeds or legumes for sprouting: Choose seeds or legumes that are suitable for sprouting, such as alfalfa, mung beans, or broccoli seeds. It’s important to source organic seeds to avoid any harmful chemicals.
Water: You’ll need water to soak and rinse the sprouts throughout the sprouting process.
Preparing the jar
Before you assemble your DIY sprouting jar, it’s important to properly prepare the jar for use. Follow these steps:
Clean the jar: Ensure the jar is clean and free of any debris. Use soap and warm water to thoroughly clean the jar before proceeding.
Remove any labels or adhesive residue: Soak the jar in warm, soapy water to help loosen any labels or adhesive residue. Use a scrub brush or sponge to gently remove any remaining residue.
Ensure the jar is dry: After cleaning, allow the jar to air dry completely. Ensuring the jar is dry will prevent any mold or bacteria growth during the sprouting process.
Select a suitable size: Choose a jar that is the appropriate size for the amount of sprouts you plan to grow. The jar should provide enough space for the sprouts to grow and expand without becoming overcrowded.
Consider using a wide-mouthed jar for ease of use: A wide-mouthed jar makes it easier to add and remove the sprouts, as well as for rinsing and draining.
Assembling the sprouting lid
Now that your jar is ready, it’s time to assemble the sprouting lid. Follow these steps:
Purchase sprouting lids or make your own: Sprouting lids can be purchased online or at kitchen supply stores. They are specifically designed for sprouting and allow for proper airflow. If you prefer, you can make your own sprouting lid using materials like mesh or wire screen.
Cut a piece of cheesecloth: If you’re using cheesecloth as your sprouting lid, cut a piece large enough to cover the mouth of the jar with some excess for securing with a rubber band.
Secure the cheesecloth with a rubber band: Place the cut piece of cheesecloth over the mouth of the jar and secure it in place with a rubber band. Ensure that the cheesecloth is snugly attached to prevent any seeds or sprouts from escaping.
Soaking and rinsing the seeds
Now that your jar and sprouting lid are ready, it’s time to start the sprouting process. Here’s what you need to do:
Measure the desired amount of seeds: Determine how many sprouts you’d like to grow and measure out the appropriate amount of seeds. Keep in mind that seeds will typically expand in size as they sprout.
Place the seeds in the sprouting jar: Pour the measured seeds into the prepared sprouting jar. Spread them evenly across the bottom of the jar to ensure even sprouting.
Fill the jar with water: Fill the jar with enough water to cover the seeds, leaving some space at the top for expansion. Use clean, filtered water if possible.
Allow the seeds to soak for the appropriate time: Different seeds require different soaking times. Refer to the instructions specific to the seeds you’re using to determine the appropriate soaking time. As a general guideline, most seeds will require soaking for 8 to 12 hours or overnight.
Drain and rinse the soaked seeds thoroughly: After the soaking time has elapsed, carefully drain the water from the jar. Rinse the seeds thoroughly with clean water to remove any debris or residue. Shake the jar gently to ensure all excess water is drained.
Sprouting process
Now that your seeds are soaked and rinsed, it’s time to begin the sprouting process. Follow these steps:
Position the sprouting jar: Place the sprouting jar in a location that provides proper ventilation. Avoid placing it in direct sunlight, as this can cause excessive heat and drying.
Ensure proper ventilation: Proper airflow is essential for sprout growth. Keep the sprouting jar in an area where air can circulate freely, but be cautious of drafts that may cause drying.
Avoid direct sunlight exposure: While sprouts require some light to grow, direct exposure to sunlight can lead to overheating and drying. Choose a location that receives indirect light or use artificial lighting if necessary.
Rinse the seeds multiple times a day: Throughout the sprouting process, it’s important to rinse the seeds multiple times a day to keep them moist and to prevent mold growth. Use clean water to thoroughly rinse the seeds, then drain any excess water.
Continue rinsing until sprouts reach desired length: Depending on the type of seeds you’re sprouting, it can take anywhere from a few days to a week for the sprouts to reach the desired length. Continue rinsing and draining the sprouts daily until they have grown to the desired size.
Harvesting the sprouts
Once your sprouts have reached the desired length, it’s time to harvest them. Here’s what you need to do:
Check the sprouts for readiness: Look for fully developed sprouts with well-formed roots and leaves. They should be crisp and fresh-looking.
Drain excess water from the jar: Carefully drain any excess water from the jar before removing the sprouts. This will help ensure they’re not sitting in a pool of water, which can cause them to become mushy.
Remove sprouts from the jar: Gently remove the sprouts from the jar, taking care not to damage them. You can use your hands or a fork to do this.
Wash and dry the sprouts before consumption: Before consuming the sprouts, give them a gentle rinse under clean water to remove any remaining debris. Pat them dry with a clean towel or use a salad spinner to remove excess moisture.
Store leftover sprouts in the refrigerator: If you have any leftover sprouts, store them in a clean, airtight container in the refrigerator. They should stay fresh for a few days, but it’s best to consume them as soon as possible for maximum freshness and flavor.
Tips and considerations
To enhance your sprouting journey, here are some additional tips and considerations to keep in mind:
Choose seeds suitable for sprouting: Not all seeds are suitable for sprouting, so make sure to choose seeds that are specifically labeled for sprouting. Some common seeds for sprouting include alfalfa, broccoli, mung bean, and radish.
Use organic seeds to avoid chemicals: Opt for organic seeds to avoid any harmful chemicals or pesticides. This ensures your sprouts are as healthy and nutritious as possible.
Follow recommended soaking and sprouting times: Different seeds have different soaking and sprouting times. It’s important to follow the recommended times provided with the seeds you’re using to ensure optimal sprout growth.
Keep the sprouting jar clean and sanitized: After each sprouting cycle, thoroughly clean and sanitize your sprouting jar to prevent the growth of bacteria or mold. Use hot, soapy water and let it dry completely before starting a new batch.
Experiment with different seeds and combinations: Don’t be afraid to try different seeds or even mix different types together. This can add variety and new flavors to your sprouts. Explore and have fun with the sprouting process!

Troubleshooting
While sprouting is a relatively simple process, you may encounter some common issues. Here’s how to troubleshoot them:
Mold or foul smell: If you notice mold or a foul smell coming from your sprouting jar, it’s most likely caused by insufficient rinsing or inadequate ventilation. Make sure to rinse the seeds thoroughly and provide proper airflow to prevent mold growth.
Insufficient rinsing: Insufficient rinsing can lead to mold growth or the development of off-putting odors. Be sure to rinse the seeds multiple times a day, ensuring they’re thoroughly cleaned and drained each time.
Inadequate ventilation: Proper ventilation is crucial for healthy sprout growth. If you notice sprouts are not thriving or have a weak, wilted appearance, check if there’s adequate airflow around the jar. Adjust the location accordingly to provide better ventilation.
Seeds not sprouting: If your seeds aren’t sprouting, it may be due to incorrect soaking times, poor quality seeds, or improper temperature conditions. Double-check the soaking times for the specific seeds you’re using and make sure you’ve sourced high-quality seeds. Ensure the sprouting jar is kept at an appropriate temperature range for sprout growth.
Over- or under-soaking: The soaking process is crucial for activating seed germination, but over-soaking can lead to mold growth and poor-quality sprouts. Under-soaking may result in delayed or stunted sprout growth. Follow the recommended soaking times for the seeds you’re using to ensure successful sprouting.
Safety precautions
When sprouting at home, it’s important to keep these safety precautions in mind:
Avoid using jars with cracks or damage: Cracked or damaged jars can break during use, posing a safety hazard. Always inspect your jars before using them for sprouting and discard any that are damaged.
Use caution when handling glass: Glass jars can be fragile, so handle them with care to avoid accidental breakage. Protect your hands by wearing gloves if needed.
Ensure proper hygiene practices: Before handling any sprouts or equipment, make sure to wash your hands thoroughly with soap and water. This helps prevent the transfer of bacteria or other contaminants to the sprouts.
Consume sprouts within their shelf life: Sprouts have a relatively short shelf life, so it’s best to consume them within a few days of harvesting. This ensures they’re at their freshest and reduces the risk of spoilage.
Consult a healthcare professional if unsure about consumption: If you have any concerns or medical conditions that may affect your ability to consume sprouts, it’s always best to consult with a healthcare professional before including them in your diet.
Conclusion
With a DIY sprouting jar, you can easily grow your own fresh and nutritious sprouts right at home. Whether you’re a beginner or experienced sprouter, this simple and enjoyable process allows you to add a healthy and flavorful touch to your meals. Remember to follow the steps outlined in this article, experiment with different seeds, and share your sprouting journey with others. Happy sprouting!


