Have you ever wanted to add beauty and natural charm to your garden or landscape? Look no further than planting clover, a versatile and vibrant plant that can enhance any outdoor space. Whether you’re looking to attract pollinators, improve soil health, or simply add a touch of lush greenery, this article will guide you through the steps of planting clover. From selecting the right clover species to preparing the soil and providing optimal care, you’ll discover all the tips and tricks you need to successfully cultivate this delightful plant. Get ready to embrace the joys of planting clover and transform your outdoor space into a flourishing haven.

Choosing the Right Clover Variety
When it comes to planting clover, the first step is to consider the purpose of planting. Are you looking to improve the soil quality, provide food for livestock, attract pollinators, or create a beautiful ground cover? Different clover varieties serve different purposes, so it’s important to determine what you hope to achieve.
Next, you need to take into account the specific conditions in your region. Clover varieties have different temperature and moisture preferences, so it’s crucial to select a variety that is well-suited to your climate. Consider factors such as the average temperature, rainfall, and soil type in your area when choosing your clover variety.
Lastly, there are a few additional factors to consider when selecting a clover variety. Some varieties are more resistant to diseases and pests, while others have better tolerance to drought or heat. It’s also important to think about the growth habit of the clover variety you choose, as some varieties spread rapidly while others form dense clumps.
Preparing the Soil
Before you start planting clover, it’s vital to properly prepare the soil in order to give your seeds the best chance of germination and growth. The first step is to test the soil pH. Clover prefers a slightly acidic to neutral pH, ideally around 6.0 to 7.0. If your soil pH is too low or too high, you may need to amend it by adding lime or sulfur accordingly.
Once you have determined the pH of your soil, you should remove any existing vegetation from the area where you plan to plant clover. This includes grass, weeds, and other plants that may compete with the clover for nutrients and space. Clearing the area of vegetation will allow the clover to establish itself without any hindrance.
If your soil lacks essential nutrients, you may need to amend it with the necessary fertilizers or organic matter. Conduct a soil test to identify any nutrient deficiencies and amend the soil accordingly. Incorporating organic matter, such as compost or well-rotted manure, can also improve the soil structure and provide essential nutrients to support clover growth.
Tilling the soil is the final step in soil preparation for planting clover. This helps to create a seedbed by loosening the soil and removing any compacted layers. Use a tiller or garden fork to work the soil to a depth of about 4-6 inches. Smooth out the surface to ensure an even planting area for your clover seeds.
Planting Methods
When it comes to planting clover seeds, there are two primary methods that you can choose from: broadcast seeding and drilling. Each method has its own advantages and considerations, so it’s important to choose the method that best suits your needs and resources.
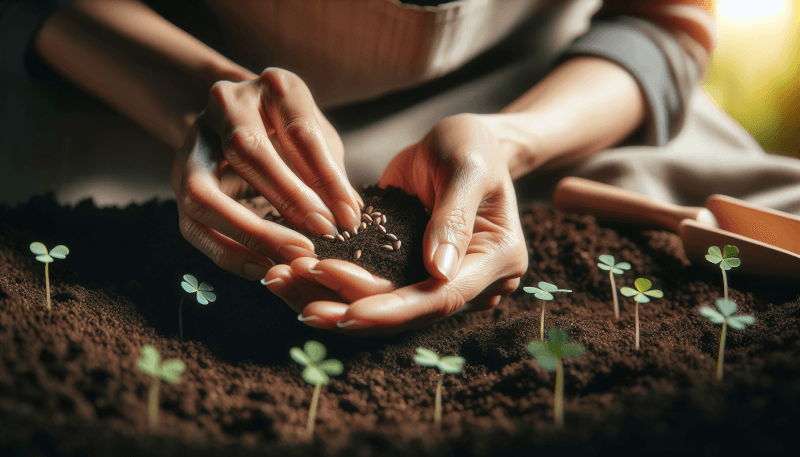
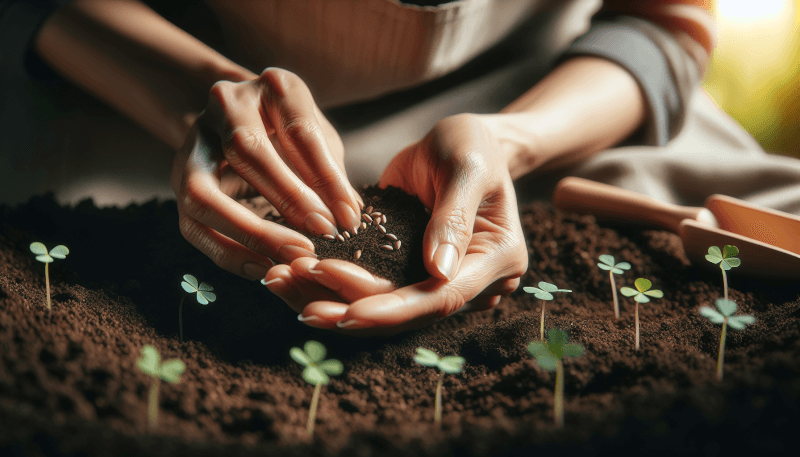
Broadcast seeding involves scattering the clover seeds evenly across the prepared seedbed. This method is simple and suitable for larger areas or when you don’t have specialized equipment. It is important to ensure an even distribution of seeds to avoid overcrowding or patchy growth. After broadcasting the seeds, lightly rake them into the soil surface to improve seed-to-soil contact.
Drilling the clover seeds involves using a seed drill or a seeder to plant the seeds at specific depths and spacing. This method allows for precise placement of the seeds, resulting in more uniform germination and growth. Drilling is recommended for smaller areas or when you want more control over seed placement. Follow the manufacturer’s instructions for your specific seeder to ensure optimal results.
Seeding Rates and Time
Determining the appropriate seeding rate is essential to achieve proper clover establishment and growth. The recommended seeding rate may vary depending on the clover variety you have selected and the purpose of planting. As a general guideline, a seeding rate of 8-12 pounds per acre is common for most clover varieties.
The best time to plant clover is influenced by both the seasonal climate of your region and the specific variety you have chosen. In general, clover can be planted in the early spring or early fall. Planting in the spring allows for established growth and nitrogen fixation before the summer heat, while fall planting takes advantage of the cooler temperatures and moisture.
Keep in mind that different varieties may have specific planting recommendations, so be sure to consult the seed packaging or a local agricultural extension office for guidance on the ideal seeding rate and timing.
Proper Seed Depth and Coverage
Achieving the right seed depth is crucial for successful germination and establishment of clover. Different clover varieties have different seed depth requirements, so it’s important to understand the recommended depth for the variety you have chosen. As a general rule, clover seeds should be planted at a depth of ¼ to ½ inch.
After planting the seeds, it’s important to cover them effectively to protect them from birds and other animals. This can be achieved by lightly raking the soil or using a roller to firmly press the soil over the seeds. This covering also helps to maintain moisture levels in the soil, promoting optimal germination.
Fertilizing the Clover
Assessing the need for fertilization is crucial in ensuring that your clover plants have the necessary nutrients for healthy growth. Conduct a soil test to determine the nutrient levels in your soil and identify any deficiencies. Nitrogen is particularly important for clover, as it is a nitrogen-fixing plant that improves soil fertility.
Choose a fertilizer that is appropriate for clover and the specific nutrient requirements of your soil. Look for a balanced fertilizer with a ratio of nitrogen (N), phosphorus (P), and potassium (K) specific to the needs of clover. An even balance, such as 10-10-10, is often suitable for promoting healthy clover growth.
When applying fertilizer to clover, it’s important to use the correct amounts. Over-fertilization can lead to excessive vegetative growth and reduce seed production, while under-fertilization can hinder plant growth and nutrient uptake. Follow the recommended rates and application guidelines provided with your chosen fertilizer.
Watering and Irrigation
Proper watering is essential to help clover seeds germinate and establish, as well as support the growth of established plants. Monitor the soil moisture regularly to ensure that it is consistently damp but not waterlogged. Clover prefers moist soil but does not tolerate standing water.
The frequency and duration of watering will depend on various factors such as rainfall patterns, soil type, and temperature. In general, young clover plants will require more frequent watering until they are established. Aim for watering deeply to encourage deep root growth and ensure the plants have access to water during dry spells.
Consider using irrigation methods such as drip irrigation or soaker hoses to deliver water directly to the root zone. This helps to minimize water loss through evaporation and prevents foliage from getting wet, which can increase the risk of diseases.
Managing Weeds
Before planting clover, it’s important to take measures to prevent weed competition. Weeds can hinder the growth of clover by competing for nutrients, water, and sunlight. Clear the area of any existing weeds, either by hand-pulling or using a herbicide if necessary. Be sure to follow the instructions on the herbicide label and take precautions to protect the environment and other non-target plants.
Implementing cultural practices can also help control weeds in the long term. This can include maintaining proper soil fertility, regular mowing, and overseeding with clover to fill in any bare spots and prevent weed invasion. By promoting dense clover growth and maintaining healthy soil conditions, you can prevent weeds from becoming a significant issue.
Pest and Disease Control
While clover is generally resilient to pests and diseases, it’s still important to be aware of common issues that may arise. Identify pests such as aphids, clover root curculios, and armyworms that can feed on clover plants. Implement preventive measures, such as proper sanitation and crop rotation, to minimize pest infestations.
Certain diseases, such as powdery mildew, leaf spot, and clover rot, can also affect clover plants. Practice good hygiene by removing diseased plants promptly to prevent the spread of infection. Implementing crop rotation and planting disease-resistant varieties can also help reduce the risk of disease outbreaks.
If specific pests or diseases become a significant issue, consult a local agricultural extension office or a plant health professional for guidance on control measures and appropriate treatments.
Maintenance and Mowing
Maintaining clover involves properly mowing and managing the growth of the plants. It is important to maintain an appropriate mowing height to encourage vigorous growth and keep the clover healthy. Generally, mowing at a height of 3-4 inches is recommended for most clover varieties.
Planning a mowing schedule is also important to ensure the optimal growth of clover while considering the impact on pollinators. Avoid mowing during periods of heavy flowering to allow bees and other pollinators to access the nectar and pollen. Consider adjusting the mowing frequency and timing based on the specific clover variety and your desired outcome.
By implementing proper maintenance practices, you can promote healthy clover growth, maintain a visually appealing appearance, and support the pollinators that rely on clover for food and habitat.
In conclusion, planting clover involves careful consideration of the purpose, suitable variety, soil preparation, planting methods, seeding rates, seed depth, fertilization, watering, weed management, pest and disease control, as well as maintenance practices. By following these steps, you can ensure the successful establishment and growth of clover, whether it’s for improving soil health, providing forage for livestock, attracting pollinators, or simply enjoying the beauty of this versatile plant. Happy planting!


