👋 Click the mic button to talk to Alfred, the Todd's Seeds Gardening/Sprouting Expert – Feel free to ask him anything!
Ask Virtual Todd Anything - Click the Mic
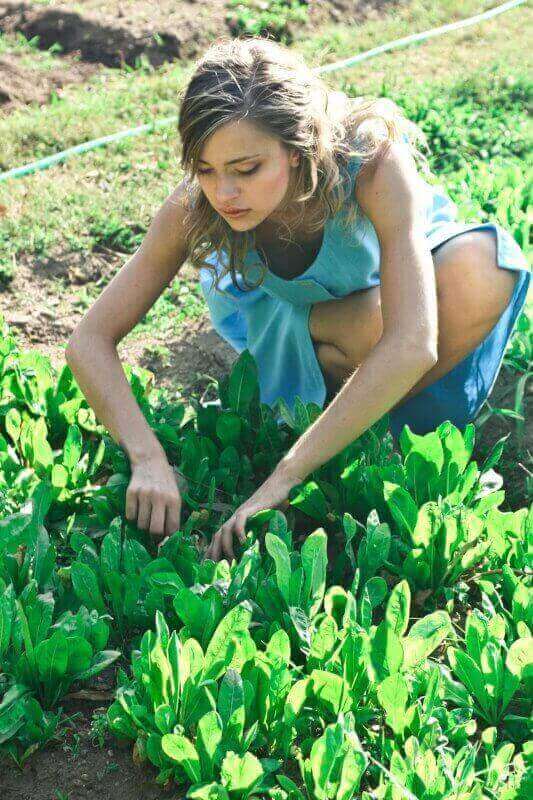
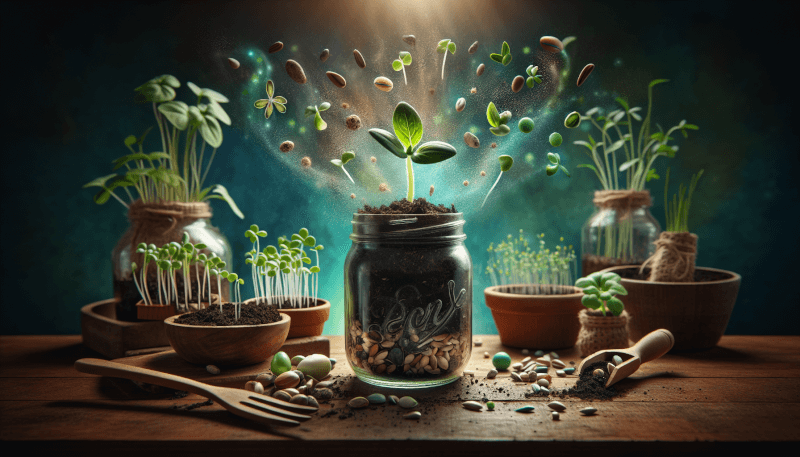
Have you ever wanted to try your hand at gardening but felt overwhelmed by the idea of digging up a whole backyard? Well, fear not! With just a simple mason jar and some seeds, you can start your very own mini garden right on your windowsill. Sprouting seeds in a mason jar is an easy and fun way to bring a touch of green into your home. Not only is it a great way to observe the miracle of nature, but it also allows you to grow your own nutritious sprouts that can be added to salads, sandwiches, and more. Get ready to embrace your inner gardener and watch as your seeds flourish into vibrant and healthy sprouts!

Choosing the Right Seeds
Determining the Purpose
When it comes to sprouting seeds in a mason jar, the first step is to determine the purpose of your sprouts. Are you looking to add more nutrition to your diet? Or perhaps you want to experiment with different flavors and textures in your meals? Understanding your purpose will help you choose the right seeds to sprout.
Considering Sprouting Time
Sprouting time varies depending on the type of seeds you choose. Some seeds sprout faster than others, which is important to consider if you’re looking for quick results. For example, alfalfa sprouts can be ready to eat in as little as four to six days, while larger seeds like mung beans can take up to a week or more. So, consider your patience level and time constraints when selecting seeds for sprouting.
Researching Seed Quality
In order to ensure successful sprouting, it’s important to choose high-quality seeds. Look for organic, non-GMO seeds that are specifically labeled for sprouting. These seeds are free from any chemicals or treatments that could hinder the sprouting process. Take the time to research reputable seed suppliers and read reviews to ensure you’re getting the best quality seeds for your mason jar sprouting adventures.
Preparing the Mason Jar
Selecting the Mason Jar Size
The size of the mason jar you choose will depend on the amount of sprouts you want to grow. If you’re just starting out or have limited counter space, a pint-sized mason jar may be sufficient. However, if you’re a sprout enthusiast and want to have a continuous supply of sprouts, a quart-sized jar might be more suitable. Consider your sprouting goals and the available space in your kitchen when selecting your mason jar.
Cleaning and Sterilizing the Jar
Before starting the sprouting process, it’s crucial to clean and sterilize your mason jar. This helps prevent the growth of harmful bacteria or mold that could spoil your sprouts. Wash the jar thoroughly with hot, soapy water, and rinse it well to remove any residue. Then, sterilize the jar by boiling it in water for about 10 minutes. Let it cool completely before continuing with the sprouting process.
Creating a Sprouting Lid
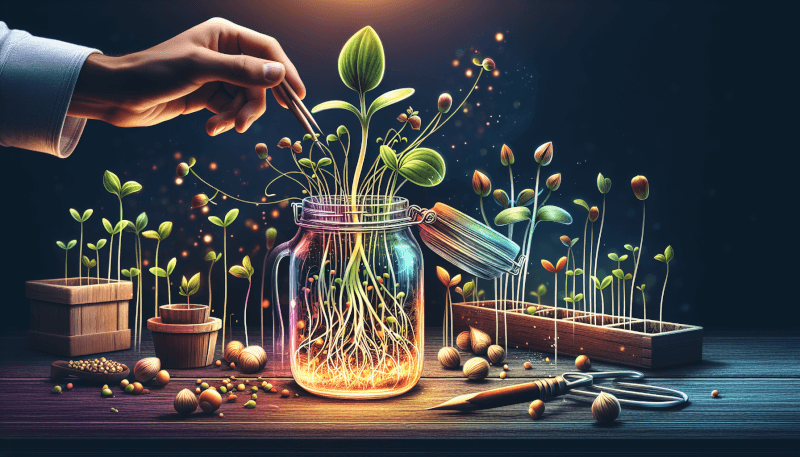
To ensure proper airflow and drainage during the sprouting process, it’s important to create a sprouting lid for your mason jar. This can be easily done by using a piece of cheesecloth or mesh fabric secured tightly over the mouth of the jar with a rubber band. The sprouting lid allows for ventilation while preventing any unwanted debris from entering the jar.

Soaking Seeds
Measuring the Right Amount of Seeds
To achieve optimal sprouting results, it’s essential to measure the right amount of seeds for soaking. The general rule of thumb is to use about two tablespoons of small seeds, such as alfalfa or broccoli, or three tablespoons of larger seeds like mung beans or lentils. Adjust the quantity accordingly based on the size of your mason jar and your personal preference for sprout density.
Rinsing the Seeds
Before soaking the seeds, it’s important to rinse them thoroughly. This helps remove any debris or dust that may be present on the seeds. Place the seeds in a fine-mesh sieve and rinse them under running water, gently agitating them with your fingers to ensure a thorough rinse. Repeat this process a couple of times until the water runs clear.
Soaking Periods for Different Seeds
Different seeds require different soaking periods to activate their growth. For example, smaller seeds like alfalfa or broccoli may only need a brief soak of four to six hours. However, larger seeds like mung beans or lentils benefit from an overnight soak of eight to twelve hours. It’s important to follow the recommended soaking time for the specific seeds you’re sprouting to ensure successful germination.
Rinsing and Draining
Frequency of Rinsing
During the sprouting process, it’s crucial to rinse the seeds regularly to keep them clean and hydrated. Rinse the seeds at least twice a day, preferably in the morning and evening. To rinse the seeds, simply fill the mason jar with fresh water, swish the seeds gently, and then drain out the water. This helps remove any waste or residue and provides the seeds with the moisture they need to sprout.
Draining the Excess Water
After rinsing, it’s important to drain out any excess water to avoid waterlogging the seeds. Tilt the mason jar at a slight angle to let the water drain out through the sprouting lid. Ensure that the jar is not sitting in a pool of water, as this can lead to mold or bacterial growth. Proper drainage is crucial for the health and successful growth of your sprouts.
Avoiding Mold and Bacteria
To prevent the growth of mold or bacteria, it’s important to ensure that your sprouts have proper airflow and are not overly damp. Excess moisture can create a breeding ground for harmful microorganisms. Make sure to rinse and drain your sprouts thoroughly, and avoid overcrowding the sprouts in the jar. Additionally, place the jar in a well-ventilated area and away from direct sunlight to maintain optimal conditions for sprout growth.

Germinating Seeds
Selecting the Appropriate Location
When it comes to germinating your sprouts, choosing the right location is crucial. Find a spot in your home that offers a stable temperature, away from direct sunlight and extreme heat or cold. Ideal locations include a kitchen counter or a shelf in a room with consistent room temperature. Avoid placing the sprouting jar near fruits or vegetables that produce ethylene gas, as this can impact the sprouting process.
Providing Proper Lighting
While sprouts don’t require direct sunlight for germination, providing them with indirect light can promote healthy growth. Place your sprouting jar near a window or in a well-lit area, but make sure to avoid direct exposure to the sun’s rays. If natural light is limited, you can use artificial lighting, such as a fluorescent or LED light, to supplement the sprouts’ need for light during the germination phase.
Maintaining Optimal Temperature
Temperature plays a significant role in the germination process of sprouts. Most seeds prefer temperatures between 65-75°F (18-24°C) for optimal growth. Keep your sprouting jar in a location with a consistent temperature in this range to ensure successful germination. Avoid exposing the sprouts to extreme temperatures, as this can hinder their growth and overall health.
Monitoring the Sprouts
Checking for Watering Needs
Regularly monitoring the moisture level of your sprouts is crucial for their well-being. Check the sprouts daily to ensure they are neither too dry nor waterlogged. If the sprouts appear dry, gently mist them with water using a spray bottle. On the other hand, if the sprouts seem excessively wet, adjust your rinsing and draining routine to provide better airflow and drainage.
Inspecting for Any Issues
While sprouting, it’s important to inspect your sprouts for any signs of issues or problems. Look for any unpleasant odors, discoloration, or mold growth. If you notice any of these signs, it’s best to discard the entire batch and start fresh with new seeds. Regular inspection allows you to catch any potential problems early on and ensure the health of your sprouts.
Adjusting Growing Conditions
Each batch of sprouts can have slightly different needs depending on various factors, such as seed quality, temperature, and humidity. If you notice that your sprouts are not growing as expected or are experiencing any issues, don’t hesitate to make adjustments to their growing conditions. This could include adjusting the rinsing frequency, providing more or less light, or changing the location if necessary.

Harvesting Sprouts
Determining the Ideal Time
The ideal time to harvest your sprouts will depend on personal preference and the type of seeds you’re sprouting. Generally, sprouts can be harvested when they reach a desired length of 1-2 inches (2.5-5 cm). However, some sprouts, like broccoli sprouts, are typically harvested when they have two fully opened leaves. Taste a few sprouts as they grow to determine the flavor and texture you prefer before deciding to harvest.
Rinsing and Draining Harvested Sprouts
After harvesting your sprouts, it’s important to rinse them thoroughly to remove any residual seed hulls or debris. Fill a bowl or sink with water and gently agitate the sprouts to loosen any remaining particles. Once clean, allow the sprouts to drain well to remove excess water. Proper rinsing and draining help improve the flavor and texture of the harvested sprouts.
Storing and Using Sprouts
To store your harvested sprouts, gently pat them dry with a clean towel or paper towel to remove any excess moisture. Transfer the sprouts to an airtight container or a zip-lock bag, and store them in the refrigerator. Fresh sprouts can last for up to a week when properly stored. Use the sprouts within this timeframe to enjoy maximum freshness and flavor. Add them to salads, sandwiches, stir-fries, soups, smoothies, or any other dish of your choice to enhance their nutritional value and taste.
Common Mistakes to Avoid
Over-Soaking Seeds
One common mistake in sprouting seeds is over-soaking them. It’s important to adhere to the recommended soaking times for the specific seeds you’re sprouting. Over-soaking may lead to a slimy texture or cause the seeds to become waterlogged, resulting in poor germination or mold growth.
Not Providing Adequate Airflow
Proper airflow is crucial for the health of sprouts. Avoid overcrowding the seeds in the jar, as this restricts airflow and can lead to mold or bacterial growth. Additionally, make sure the sprouting lid allows for sufficient ventilation and drainage to prevent excess moisture buildup.
Neglecting Sprouts’ Hygiene
Maintaining proper hygiene during the sprouting process is essential. Regularly rinse and drain the sprouts to remove waste and prevent the growth of mold or bacteria. Discard any sprouts that show signs of spoilage, and clean the mason jar thoroughly between batches to prevent cross-contamination.

Benefits of Sprouting Seeds in Mason Jars
Nutritional Value Enhancement
Sprouting seeds in mason jars is a great way to enhance the nutritional value of your meals. The sprouting process increases the availability of nutrients, such as vitamins, minerals, and antioxidants, making sprouts a nutrient-dense addition to your diet. By sprouting your own seeds, you have control over the quality and freshness of your sprouts, ensuring maximum nutritional benefits.
Cost-Effective Method
Sprouting seeds in mason jars is a cost-effective method compared to purchasing pre-sprouted seeds from stores. A small investment in high-quality seeds and a mason jar can yield a continuous supply of fresh and nutritious sprouts at a fraction of the cost of store-bought options. Sprouting seeds at home is not only budget-friendly but also allows you to experiment with different types of seeds and flavors.
Accessible Year-Round
One of the greatest advantages of sprouting seeds in mason jars is that it can be done year-round, regardless of the season. Whether it’s the middle of winter or the height of summer, you can enjoy the benefits of fresh sprouts anytime. By sprouting seeds indoors, you’re not bound by the limitations of outdoor gardening, ensuring a steady supply of sprouts throughout the year.
Creative Uses for Sprouts
Incorporating in Salads and Sandwiches
Sprouts are a perfect addition to salads and sandwiches, adding a fresh crunch and nutritional boost. Toss them into your favorite salad for extra texture and flavor. Similarly, layer them onto your sandwiches for a vibrant and nutritious twist. Sprouts complement a variety of vegetables, meats, and dressings, making them a versatile ingredient in your culinary creations.
Adding to Smoothies and Juices
For a healthful kick, consider adding sprouts to your smoothies or juices. Blend them along with your favorite fruits and vegetables to create a power-packed beverage. Sprouts bring an added dose of nutrients and freshness to your drinks, making them an excellent choice for those seeking nutritious and refreshing options.
Using in Stir-Fries and Soups
Sprouts make a delightful addition to stir-fries and soups, enhancing both the flavor and visual appeal of these dishes. Whether you’re sautéing vegetables or simmering a hearty soup, toss in some sprouts towards the end of the cooking process for a tasty and nutritious touch. The heat will lightly cook the sprouts, while still retaining their crispness and nutritional benefits.
In conclusion, sprouting seeds in mason jars is a rewarding and accessible way to cultivate fresh and nutritious sprouts at home. By following the steps outlined in this article, you can embark on your sprouting journey, choosing the right seeds, preparing the mason jar, soaking the seeds, germinating them, and harvesting your homegrown sprouts. Avoid common mistakes, enjoy the benefits of sprouts, and get creative by incorporating them into various dishes. Sprouting seeds in mason jars allows you to take control of your food’s quality, nutritional value, and freshness, ensuring a wholesome addition to your meals year-round.