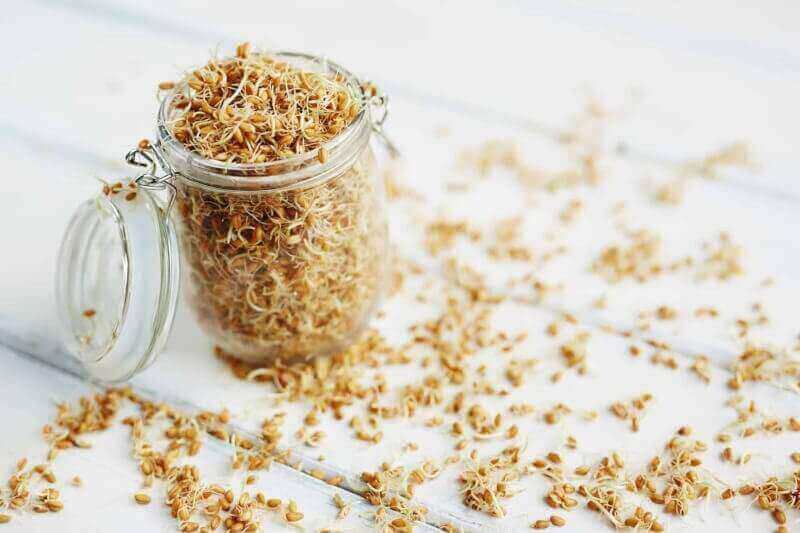
Many people, finding themselves stuck at home, want to make their own sprouting jar. Sprouting seeds are a common event in gardening. As it grows, the seed grows into a new plant that is genetically the same as the seed pod. This growing cycle is called “spreading.”
One of the most popular types of sprouts grown in a sprouting jar are broccoli sprouts.
How do you make a sprouting jar?
Making a sprouting jar is a simple and effective way to grow sprouts like broccoli, alfalfa, or beans. Here’s a step-by-step guide to creating your own sprouting jar:
Materials Needed:
- Glass Jar: A quart-sized mason jar is ideal.
- Mesh or Cheesecloth: This will allow air in and water out.
- Rubber Band or Jar Ring: To secure the mesh or cheesecloth.
- Seeds for Sprouting: Such as broccoli seeds.
Steps to Make a Sprouting Jar:
- Clean the Jar: Begin by thoroughly cleaning your glass jar. It’s important to use a clean jar to prevent any bacterial growth.
- Prepare the Covering:
- If using cheesecloth, cut a piece large enough to cover the mouth of the jar with some overhang.
- If using mesh, ensure it’s fine enough to prevent seeds from escaping but allows water to pass through.
- Attach the Covering:
- Place the cheesecloth or mesh over the mouth of the jar.
- Secure it with a rubber band or the metal ring of the mason jar lid. Make sure it’s tight enough that the covering won’t fall off during rinsing.
- Add Seeds:
- Add a tablespoon or two of sprouting seeds to the jar. The amount depends on the size of the jar and the type of seed. Be careful not to overcrowd, as seeds will expand significantly during sprouting.
- Initial Rinse and Soak:
- Rinse the seeds by adding water through the mesh, swirling it around, and draining it out.
- After rinsing, fill the jar with water, enough to cover the seeds, and let them soak for about 6-8 hours or overnight.
- Drain and Rinse:
- After the initial soak, drain the water thoroughly.
- Twice a day (morning and evening), rinse the seeds with fresh water and drain again. It’s crucial to drain them well to prevent mold and bacterial growth.
- Position the Jar:
- After each rinsing, position the jar at an angle in a bowl or dish rack to allow any excess water to drain and to ensure good air circulation. Avoid direct sunlight.
- Watch Them Grow:
- Your sprouts should start to grow within a few days. The typical sprouting period is about 3-6 days, depending on the seed type.
- Harvest:
- Once the sprouts are ready (usually when they are 1-2 inches long), give them a final rinse, drain them well, and they are ready to eat.
- Storage:
- Store the sprouts in a refrigerator to keep them fresh. Use them within a week for optimal freshness and nutrition.
Sprouting at home is a great way to enjoy fresh greens year-round. It’s a simple, cost-effective process, and with your homemade sprouting jar, you can enjoy a variety of nutritious sprouts in your daily diet.
Where do I Start with my Sprouting Jar?
In order to grow new plants, one must buy seeds that have already begun germinating. You don’t want to sprout seeds that don’t have the necessary nutrients for good plant growth. Alfalfa is a perennial plant that is easy to grow in most areas. In addition to being affordable, alfalfa sprouts are fragrant and delicious when used in salads, mixed with other vegetables, or as an ingredient in foods.
Another variety of alfalfa is Bulgarian beans. You can sprout beans from Bulgarian beans by soaking and cooking the bean pod. These sprouts are high in protein, vitamin C, and vitamin K. There are also sprouts available from black-eyed peas called pinto beans. Black-eyed peas contain a lot of fat so they shouldn’t be used to start a new garden unless you’re prepared to cut back other fats.

Choosing the Best Seeds for Sprouting:
When buying sprouting seeds, it’s important to find ones that are chemical-free. This is important because you do not want your sprouting seeds to contain any chemicals or pesticides. Store your sprouts in a cool, dark place, away from direct sunlight. We also do not suggest letting them air out for more than a day or two. Just like with any other garden, it’s important to water your seeds thoroughly after they sprout.
When choosing the sprouting jar for your sprouting seeds, make sure that it has at least two drainage holes to allow moisture to escape. Many people choose to sprout their seeds indoors in a plastic sprouting jar to provide protection from the elements as well as to control the development of mold. If your seed package does not indicate what size jar to purchase, use a half-pint sized jar. For grains, a good choice would be a one-gallon pail. Many people like to use a perforated can or a strainer to help collect the runoff from the seeds for use in their own gardens. You can purchase perforated can liners at most stores.
Once you have your sprouting seeds jar, you’ll want to put it in a warm location and fill with water. Turn the jar on its side so the water is able to drain away from the seeds. Place the lid on the jar and allow the seeds to soak. You can do this several times, or you can simply soak the jar in the dishwasher for a few minutes before putting it in the open air. Once your seeds have soaked for three days, they will begin to sprout.
Don’t forget that Todd’s Seeds is your source for sprouting seeds.

